
spring-security-oauth2-authorization-server(三)自定义登录页 + JDBC模式获取用户信息
java复制代码} }然后把该实现类加到AccAccountDO上html复制代码。
一、实现基于JDBC查询用户信息
1. 准备工作
1.1 创建用户实体
java
复制代码
@Data @EqualsAndHashCode(callSuper = true) @NoArgsConstructor @AllArgsConstructor @Accessors(chain = true) @TableName(value = "acc_account") public class AccAccountDO extends BaseDO<AccAccountDO> implements UserDetails { @Serial private static final long serialVersionUID = -6155520593458223103L; /** * 账号 */ @TableField(value = "account_no") private String accountNo; /** * 账户名称 */ @TableField(value = "account_name") private String accountName; /** * 账户密码 */ @TableField(value = "account_password") private String accountPassword; /** * 是否启用 */ @TableField(value = "enabled") private Boolean enabled; /** * 权限列表 */ @TableField(value = "authorities", exist = false) Set<GrantedAuthority> authorities; @Override public String getPassword() { return accountPassword; } @Override public String getUsername() { return accountName; } @Override public Set<GrantedAuthority> getAuthorities() { return this.authorities; } @Override public boolean isAccountNonExpired() { return true; } @Override public boolean isAccountNonLocked() { return true; } @Override public boolean isCredentialsNonExpired() { return true; } @Override public boolean isEnabled() { return this.enabled; } }
java
复制代码
@EqualsAndHashCode(callSuper = true) @Data public class BaseDO<T extends Model<T>> extends Model<T> implements Serializable { @Serial private static final long serialVersionUID = -2548248444612845271L; /** * 主键id */ @TableId(value = "id", type = IdType.AUTO) private Long id; /** * 创建人id */ @TableField(value = "create_by", fill = FieldFill.INSERT) private Long createBy; /** * 创建人 */ @TableField(value = "create_by_name", fill = FieldFill.INSERT) private String createByName; /** * 创建时间 */ @TableField(value = "gmt_create", fill = FieldFill.INSERT) private LocalDateTime gmtCreate; /** * 修改人id */ @TableField(value = "modify_by", fill = FieldFill.INSERT_UPDATE) private Long modifyBy; /** * 修改人 */ @TableField(value = "modify_by_name", fill = FieldFill.INSERT_UPDATE) private String modifyByName; /** * 修改时间 */ @TableField(value = "gmt_modify", fill = FieldFill.INSERT_UPDATE) private LocalDateTime gmtModify; /** * 是否已删除 1-已删除 0-未删除 */ @TableField(value = "is_deleted", fill = FieldFill.INSERT) @TableLogic private Integer isDeleted; /** * 版本号 */ @TableField(value = "version", fill = FieldFill.INSERT) private Long version; }
1.2 创建DAO层
java
复制代码
public interface AccAccountManager extends IService<AccAccountDO> { } @Service public class AccAccountManagerImpl extends ServiceImpl<AccAccountMapper, AccAccountDO> implements AccAccountManager { }
1.3 service继承UserDetailsService重写方法
java
复制代码
public interface AccAccountService extends UserDetailsService { } @Service public class AccAccountServiceImpl implements AccAccountService { private final AccAccountManager accAccountManager; private final PasswordEncoder pw; @Autowired public AccAccountServiceImpl(AccAccountManager accAccountManager, PasswordEncoder pw) { this.accAccountManager = accAccountManager; this.pw = pw; } @Override public UserDetails loadUserByUsername(String accountNo) throws UsernameNotFoundException { Assert.isTrue(StrUtil.isNotBlank(accountNo), "账号不可为空!"); AccAccountDO accountDO = accAccountManager.lambdaQuery().eq(AccAccountDO::getAccountNo, accountNo).one(); Assert.isTrue(ObjectUtil.isNotEmpty(accountDO), () -> new RuntimeException("用户未找到")); String password = pw.encode(accountDO.getAccountPassword()); accountDO.setAccountPassword(password); Set<GrantedAuthority> authorities = new HashSet<>(); authorities.add(new SimpleGrantedAuthority("user")); accountDO.setAuthorities(authorities); return accountDO; } }
1.4 修改认证服务器配置
java
复制代码
@Bean public OAuth2AuthorizationService authorizationService(JdbcTemplate jdbcTemplate, RegisteredClientRepository registeredClientRepository) { return new JdbcOAuth2AuthorizationService(jdbcTemplate, registeredClientRepository); } @Bean public AuthenticationManager authenticationManager(AuthenticationConfiguration authenticationConfiguration) throws Exception { return authenticationConfiguration.getAuthenticationManager(); } // @Bean // public UserDetailsService userDetailsService() { // UserDetails userDetails = User.withUsername("admin") // .password(passwordEncoder().encode("123456")) // .roles("admin") // .build(); // return new InMemoryUserDetailsManager(userDetails); // }
2. 测试效果
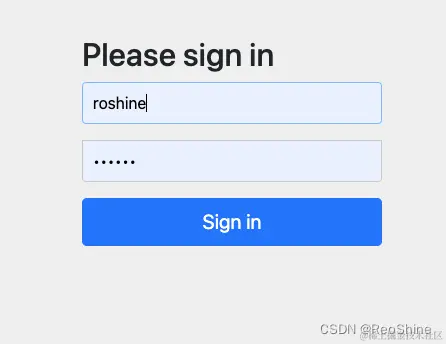
访问: http://localhost:8080/oauth2/authorize?response_type=code&scope=user&client_id=oauth2-client&state=ok&redirect_uri=https://www.baidu.com 跳转至登录页,输入之前配好的账号密码
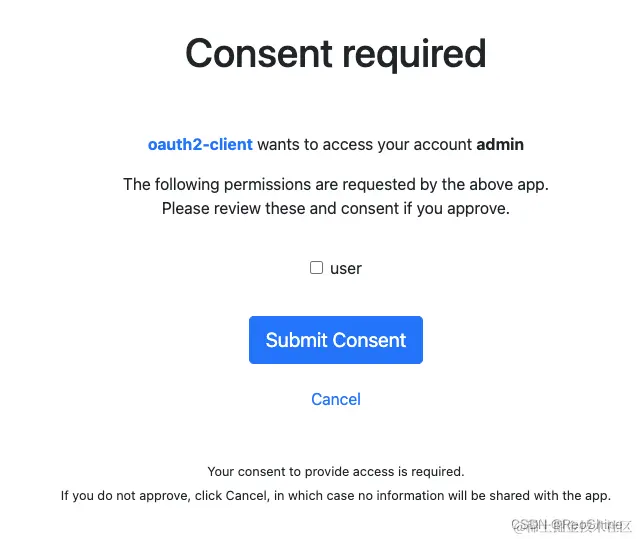
之后来到授权页,授权后调整百度获取授权码,此时会发现报错了
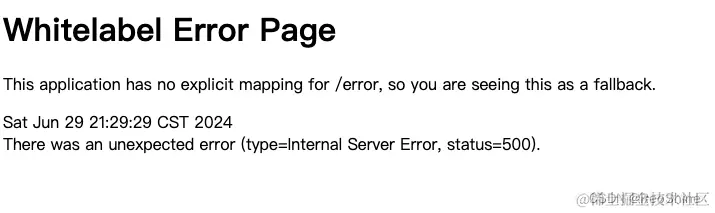
查看堆栈发现是如下错误:
markdown
复制代码
java.lang.IllegalArgumentException: The class with com.roshine.authorization.domain.AccAccountDO and name of com.roshine.authorization.domain.AccAccountDO is not in the allowlist. If you believe this class is safe to deserialize, please provide an explicit mapping using Jackson annotations or by providing a Mixin. If the serialization is only done by a trusted source, you can also enable default typing. See https://github.com/spring-projects/spring-security/issues/4370 for details
翻译过来就是:我们自定义的AccAccountDO未列入白名单。如果您认为此类可以安全地反序列化,请使用 Jackson 注释或提供 Mixin 来提供显式映射。如果序列化仅由受信任的来源完成,您还可以启用默认类型。有关详细信息,请参阅#4370;嵌套异常是 java。也提供了一个github issue地址。 开发的原则就是要啥给啥,我们就给他提供一个AccAccountDO的反序列化实现
2.1 提供自定义用户类的反序列化实现
java
复制代码
public class AccountDeserializer extends JsonDeserializer<AccAccountDO> { private static final TypeReference<Set<GrantedAuthority>> SIMPLE_GRANTED_AUTHORITY_SET = new TypeReference<>() {}; @Override public AccAccountDO deserialize(JsonParser jp, DeserializationContext ctxt) throws IOException { ObjectMapper mapper = (ObjectMapper) jp.getCodec(); JsonNode jsonNode = mapper.readTree(jp); Set<GrantedAuthority> authorities = mapper.convertValue(jsonNode.get("authorities"), SIMPLE_GRANTED_AUTHORITY_SET); JsonNode passwordNode = readJsonNode(jsonNode, "password"); String accountNo = readJsonNode(jsonNode, "accountNo").asText(); String accountName = readJsonNode(jsonNode, "accountName").asText(); String accountPassword = passwordNode.asText(""); Long id = readJsonNode(jsonNode, "id").asLong(); Long createBy = readJsonNode(jsonNode, "createBy").asLong(); String createByName = readJsonNode(jsonNode, "createByName").asText(); LocalDateTime gmtCreate = mapper.convertValue(readJsonNode(jsonNode, "gmtCreate"), LocalDateTime.class); Long modifyBy = readJsonNode(jsonNode, "modifyBy").asLong(); String modifyByName = readJsonNode(jsonNode, "modifyByName").asText(); LocalDateTime gmtModify = mapper.convertValue(readJsonNode(jsonNode, "gmtModify"), LocalDateTime.class); int isDeleted = readJsonNode(jsonNode, "isDeleted").asInt(); Long version = readJsonNode(jsonNode, "version").asLong(); boolean enabled = readJsonNode(jsonNode, "enabled").asBoolean(); AccAccountDO result = new AccAccountDO(); result.setId(id); result.setAccountNo(accountNo); result.setAccountName(accountName); result.setAccountPassword(accountPassword); result.setEnabled(enabled); result.setAuthorities(authorities); result.setCreateBy(createBy); result.setCreateByName(createByName); result.setGmtCreate(gmtCreate); result.setModifyBy(modifyBy); result.setModifyByName(modifyByName); result.setGmtModify(gmtModify); result.setIsDeleted(isDeleted); result.setVersion(version); if (passwordNode.asText(null) == null) { result.eraseCredentials(); } return result; } private JsonNode readJsonNode(JsonNode jsonNode, String field) { return jsonNode.has(field) ? jsonNode.get(field) : MissingNode.getInstance(); } }
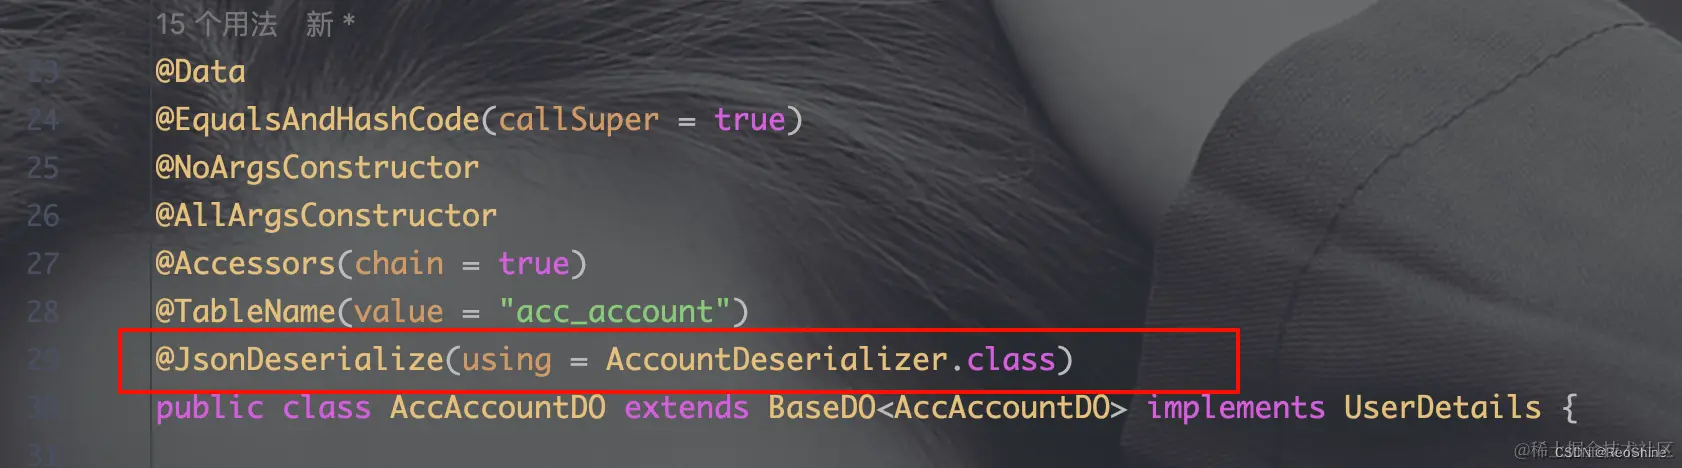
然后把该实现类加到AccAccountDO上
2.2 重新测试
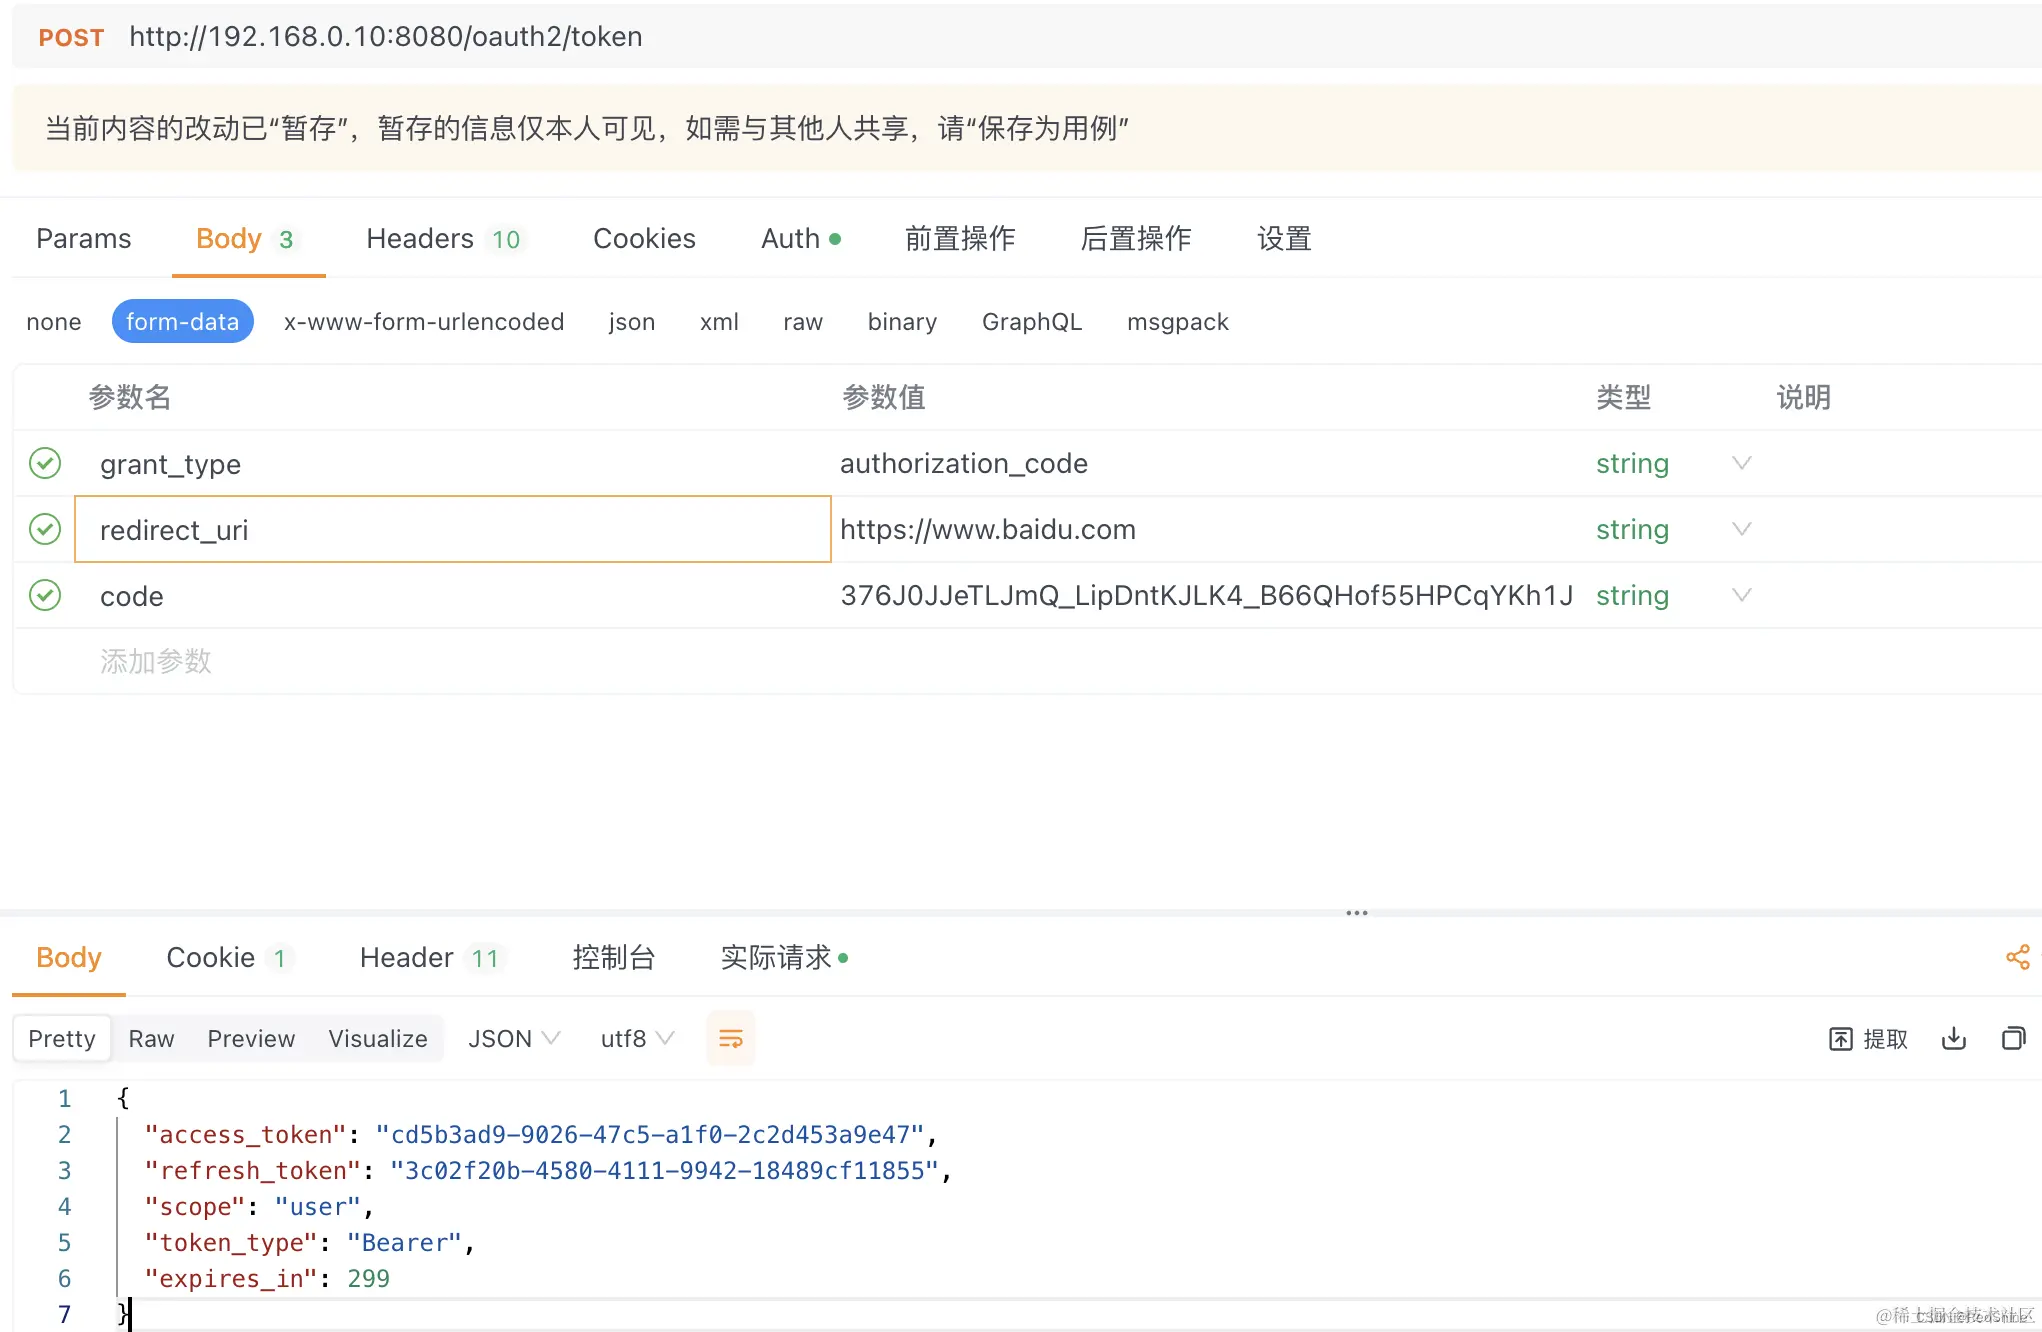
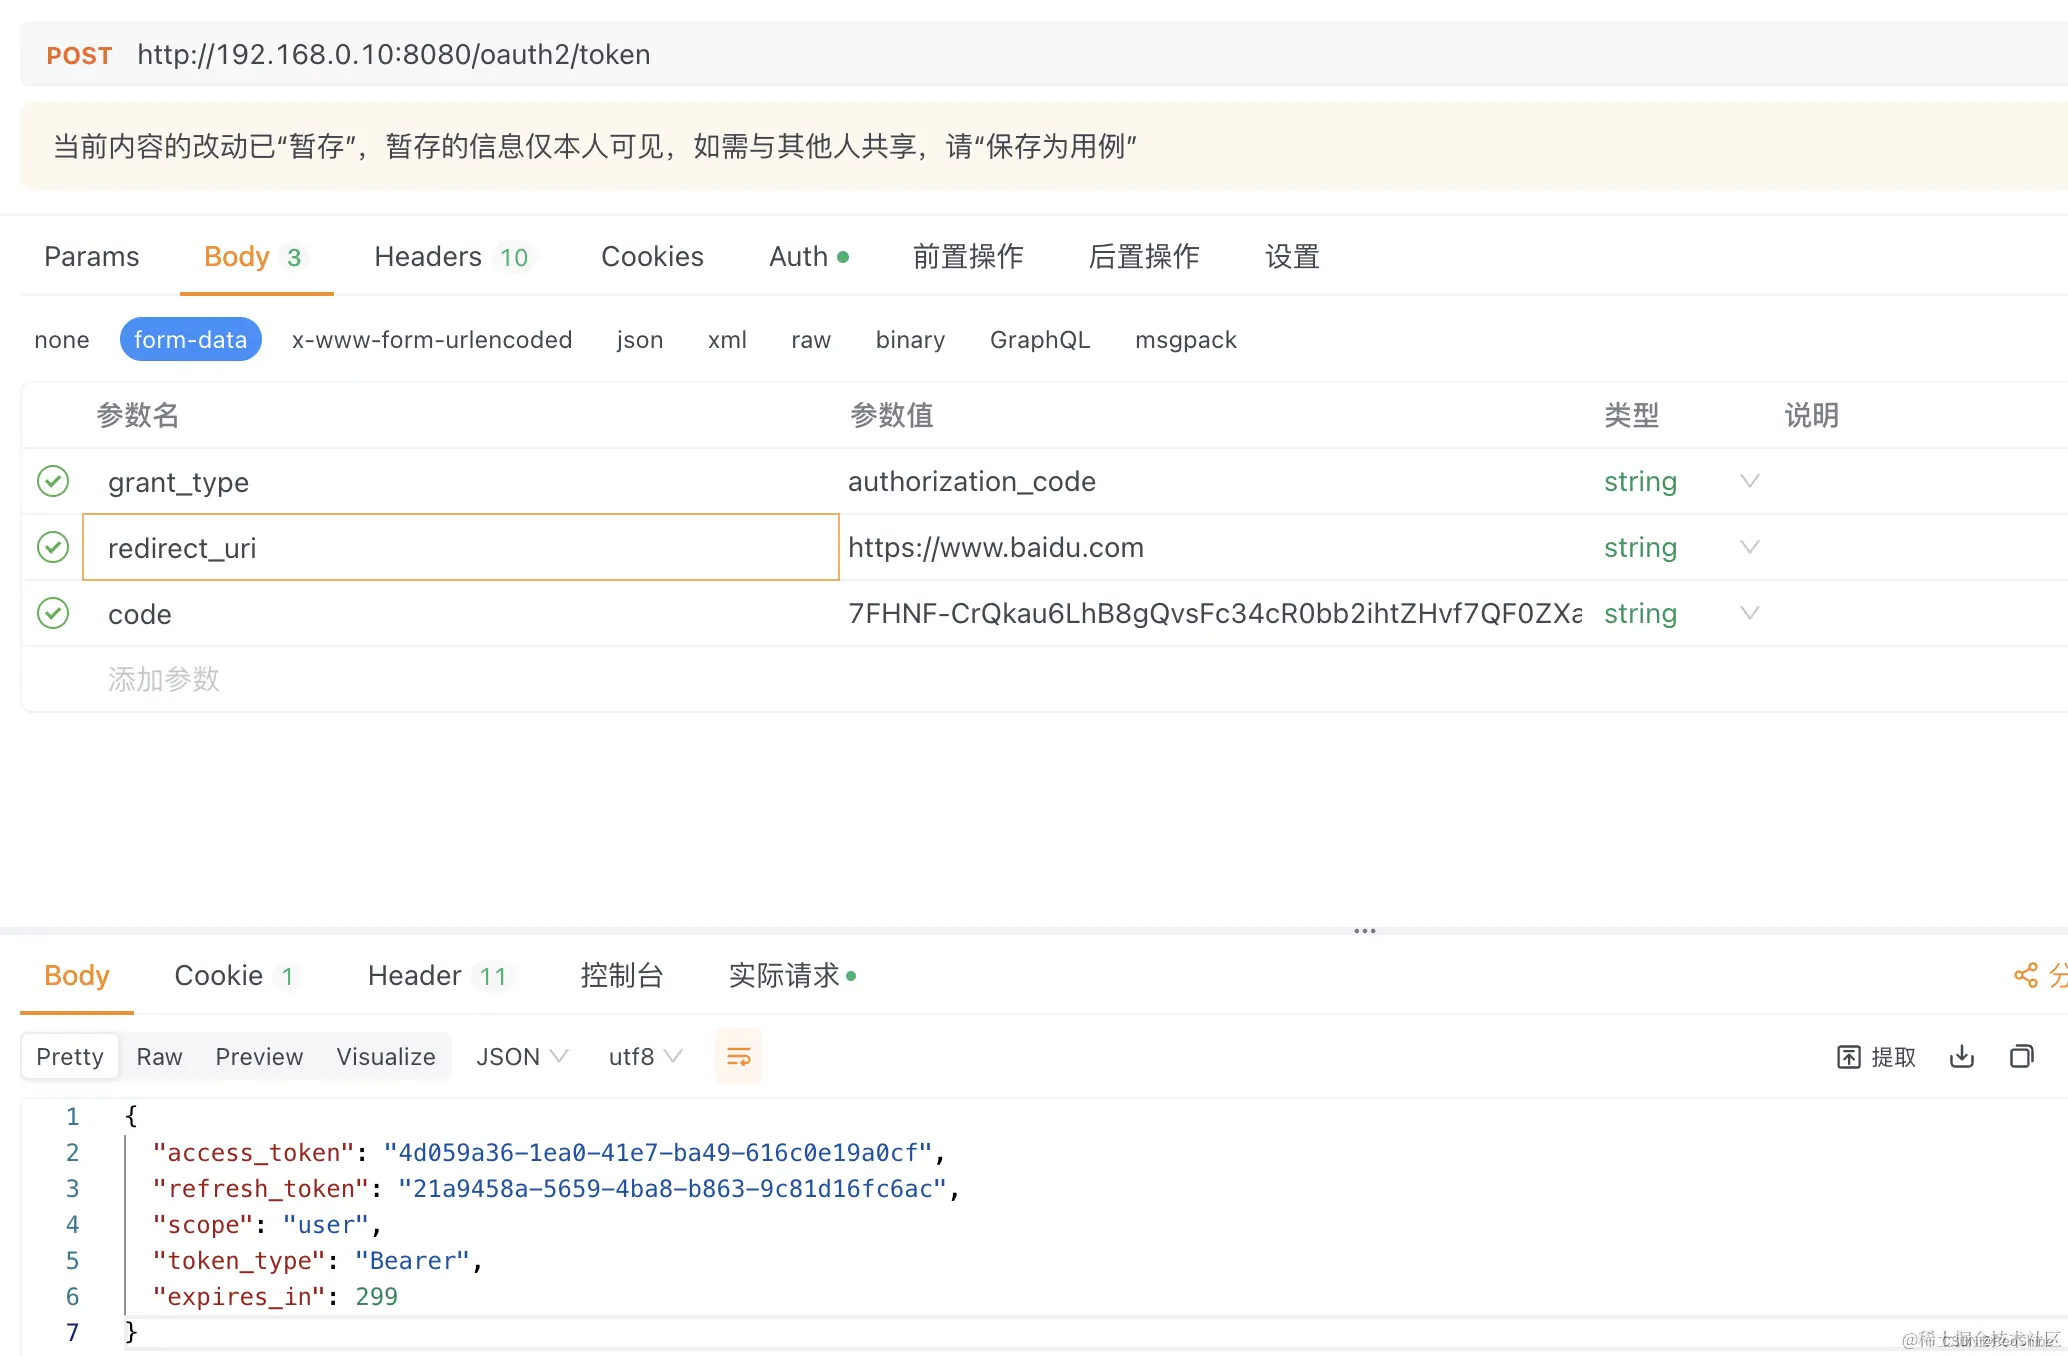
获取到了授权码 www.baidu.com/?code=376J0… 然后获取token也是可以的。
此时,通过JDBC模式读取用户信息已经完成。
二、自定义登录页
1. 首先编写登录页面
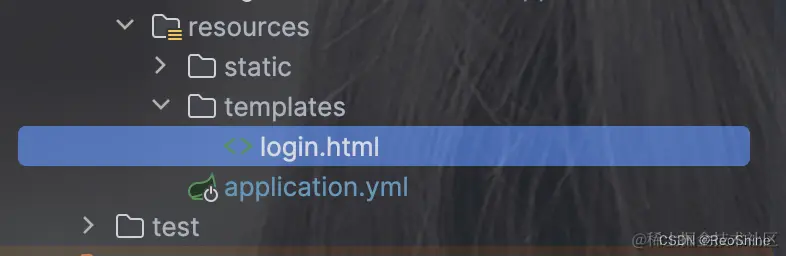
html
复制代码
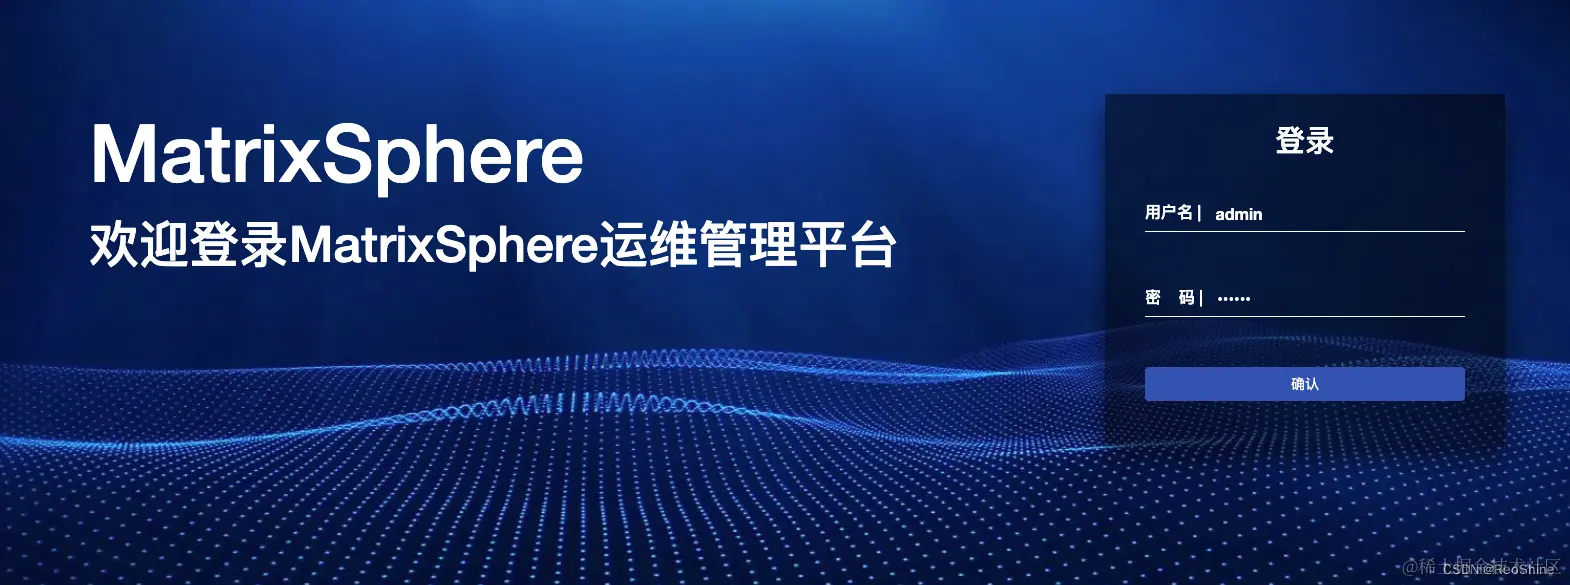
<!DOCTYPE html> <html lang="en" xmlns:th="http://www.thymeleaf.org"> <head> <meta charset="UTF-8"> <title>欢迎登录 | ADP-自动化运维部署平台</title> <link rel="stylesheet" href="https://cdn.staticfile.org/twitter-bootstrap/3.3.7/css/bootstrap.min.css" /> <link rel="stylesheet" type="text/css" th:href="@{/css/login.css}"> <link rel="stylesheet" type="text/css" th:href="@{/css/sweet-alert.css}"/> <link rel="icon" th:href="@{/images/favicon.ico}"> <script src="http://libs.baidu.com/jquery/2.0.0/jquery.min.js"></script> <script src="https://cdn.bootcdn.net/ajax/libs/twitter-bootstrap/4.5.0/js/bootstrap.min.js"></script> <script src="https://cdn.bootcdn.net/ajax/libs/sweetalert/2.1.2/sweetalert.min.js"></script> <script type="text/javascript" src="//cdn.bootcss.com/jquery-cookie/1.4.1/jquery.cookie.min.js"></script> </head> <body> <div class="bg bg-blur"></div> <div class="showBox"> <h1 style="font-size: 80px">MatrixSphere</h1> <h3 style="font-size: 50px">欢迎登录MatrixSphere运维管理平台</h3> </div> <div class="loginBox"> <h2 class="loginBox-title">登录</h2> <form id="loginForm" th:action="@{/authentication/login}" method="post"> <div class="item"> <label class="item-label">用户名 |</label> <label class="item-label-input"> <input placeholder="请输入用户名" value="admin" name="username" type="text" autocomplete="off" required> </label> </div> <div class="item"> <label class="item-label">密  码 |</label> <label class="item-label-input"> <input placeholder="请输入密码" value="123456" name="password" type="password" required> </label> </div> <button id="submitBtn" class="btn"> 确认 <span></span> <span></span> <span></span> <span></span> </button> </form> </div> </body> </html>
需要注意:自定义表单提交接口是我们自定义的:/authentication/login
2. 设置前往登录页接口
2.1 定义接口为:/sso/login
java
复制代码
@Slf4j @Controller public class SsoController { @GetMapping("/sso/login") public ModelAndView login(ModelAndView modelAndView) { modelAndView.setViewName("login"); return modelAndView; } }
3. 修改认证服务器配置
3.1 设置前往登录页的地址
java
复制代码
/** * 用于协议端点的Spring Security过滤器链 * * @param http HttpSecurity * @return SecurityFilterChain */ @Bean public SecurityFilterChain authorizationServerSecurityFilterChain(HttpSecurity http) throws Exception { OAuth2AuthorizationServerConfiguration.applyDefaultSecurity(http); http.getConfigurer(OAuth2AuthorizationServerConfigurer.class); // 开启OpenID Connect 1.0 暂时不清楚该协议是什么,那就不用先 //.oidc(Customizer.withDefaults()); http // 当未登录时访问认证端点时重定向至登录页面,默认前往登录页的uri是/sso/login .exceptionHandling((exceptions) -> exceptions .authenticationEntryPoint(new LoginUrlAuthenticationEntryPoint("/sso/login"))); return http.build(); }
这里的/sso/login是未登录时访问认证端点跳转的地址,如果访问我们的正常接口还是会去到默认登录页,所以需要继续配置
3.2 开放前往登录页的接口
java
复制代码
/** * 用于认证的Spring Security过滤器链。 * * @param http HttpSecurity * @return SecurityFilterChain */ @Bean public SecurityFilterChain defaultSecurityFilterChain(HttpSecurity http) throws Exception { http.authorizeHttpRequests((authorize) -> authorize // 放行静态资源 .requestMatchers("/sso/login", "/authentication/login") .permitAll().anyRequest().authenticated()) .formLogin(Customizer.withDefaults()) .formLogin(login -> login // 指定登录页面 .loginPage("/sso/login") // 指定表单提交接口 .loginProcessingUrl("/authentication/login")); return http.build(); }
点击登录成功来到授权页,继而获取到授权码。
至此,基于JDBC实现获取数据库用户登录和自定义登录页已完成。
更多推荐


 5
5 0
0- 0


 已为社区贡献1条内容

所有评论(0)